Download Raster: Test ISO C.pdf (16kB)
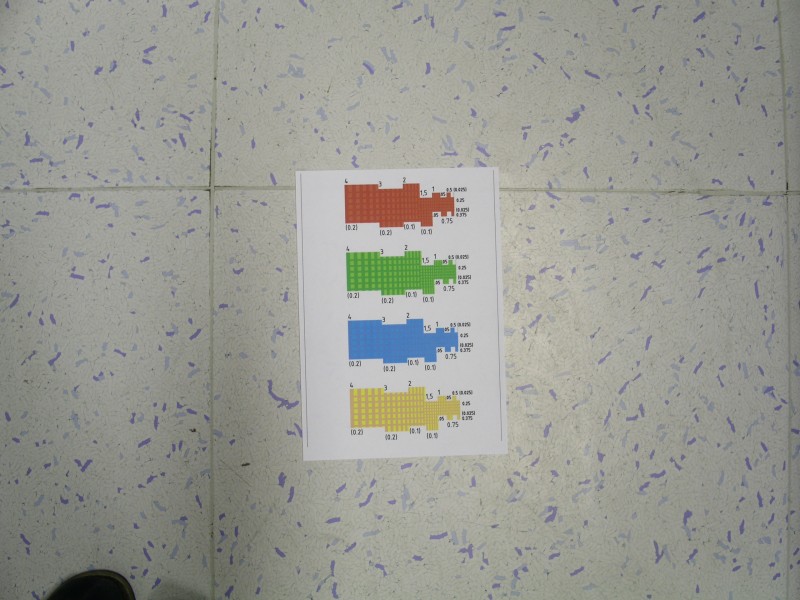
Illustration of testing picture (decreased): 8x A4 small.jpg (155kB)
You can take a picture of raster color printed or directly from LCD screen, minimal resolution 1024x768 points.
The taking of LCD screen is the same.
Only you have to pay attention to light up the background of the screen because of a right exposure.
Extension has to remain the same. On the picture you have to get 8x paper size A4.
Instruction for taking a picture:
1) Setting the digital camera:
- automatic exposure (for light base),
possibly with a gentle negative correction to correspond to paper brightness with color raster
- Flash OFF
- maximal resolution
- compression (jpg) standard
- WIDE (equivalent for cinefilm about 37 mm)
2) Place the colored raster to a light floor (the best is white or little grey).
Place the camera about 1,5 m above the raster. On display you have to have 2x raster of
size A4 by its shorter side to height. So on the camera area you could have 8 papers of size A4.
3)Set the lower ISO (regularly 64 –100).
If the floor is colored you have to balance the white, so the raster would be white.
4) Half press and check time shutter. If the time is less than 1/30,
it is important to find a lighter place or to switch on stabilizer or put the camera on tripod.
5) After focus exponate the raster
6) Repeat all for every possible setting values ISO progressively one after another.
for example: 64,100,200,400,800,1600,3200
7) Check if the pictures are sharp and approximately the same light.
White paper should by white with a small grey noise.
If you can display histogram of raster, white base should have the value of light 224/256.
If it is too complicated,
just remember that you make pictures of raster size A4 from a 1,5 m for every degrees ISO that your camera allows.